How to Clean Decking Naturally: Eco-Friendly…
Discover how to clean decking naturally in Auckland. Use DIY solutions like vinegar & baking…

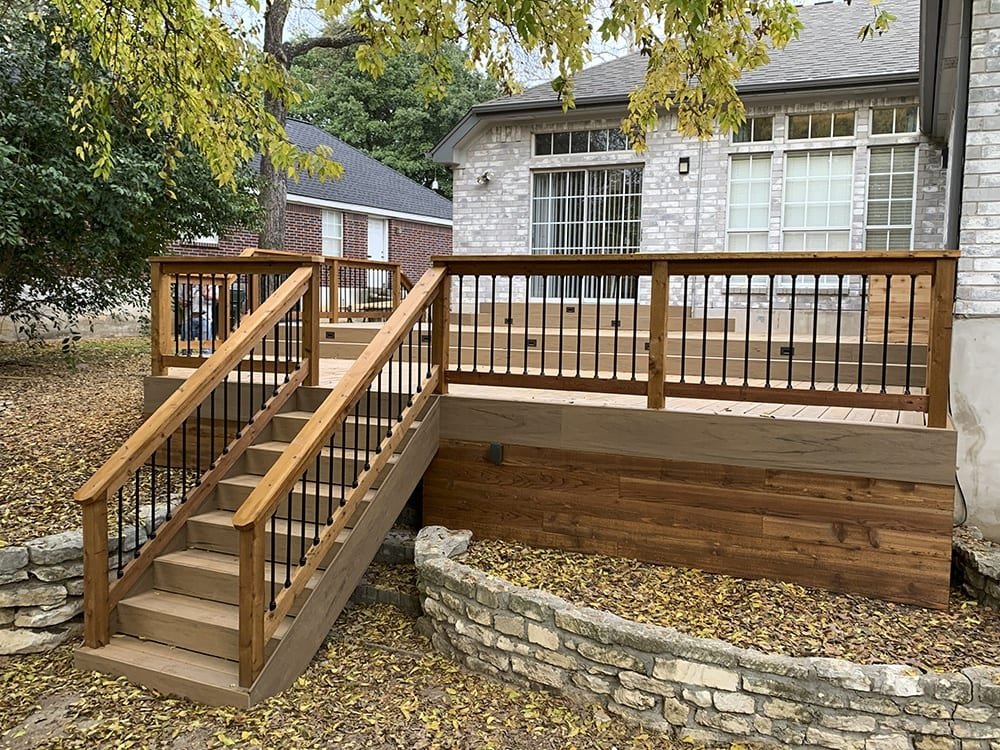
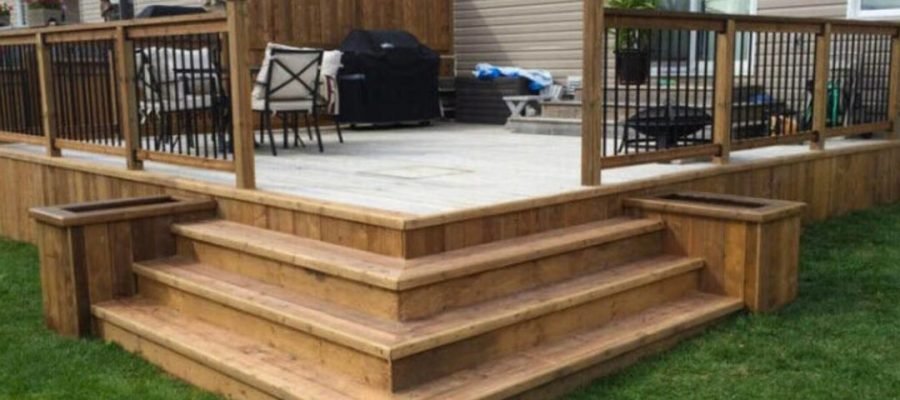
Deck handrails are the unsung heroes of outdoor living spaces. They provide a critical safety net, preventing falls and offering stability, while also framing your deck with a polished, professional look. Whether you’re a homeowner looking to upgrade your backyard oasis, a DIY enthusiast eager to master a new skill, or a contractor refining your deck-building expertise, handrails are a must-have feature—especially for elevated decks.
In many regions, including New Zealand, building codes mandate handrails for decks over 1 meter (about 39 inches) high. These regulations ensure safety, requiring handrails to be 36-42 inches tall, with balusters spaced no more than 4 inches apart, and strong enough to withstand significant force. Beyond compliance, handrails add aesthetic value, turning a basic deck into a standout feature of your home.
This ultimate guide will walk you through every step of building deck handrails—from choosing materials to securing the final rail. We’ll cover tools, techniques, safety tips, and pro insights to ensure your handrails are sturdy, code-compliant, and stylish. Let’s dive in and build something you’ll be proud of!
Handrails aren’t optional for elevated decks—they’re a lifeline. A deck without them risks falls, especially for kids, pets, or anyone unsteady on their feet. The New Zealand Building Code (NZBC F4) sets clear standards: handrails must resist 200 pounds of lateral force and maintain specific heights and spacing. Ignoring these rules can lead to fines, insurance issues, or worse—accidents.
Beyond safety, handrails enhance usability. They make stairs navigable and edges secure, letting you enjoy your deck worry-free. Aesthetically, they define the space—think sleek metal rails for a modern vibe or rustic wood for a cozy feel. Choosing the right design and material ties your deck to your home’s character.
Your handrail material impacts durability, maintenance, and style. Here’s a deep dive into the options:
For posts, 4×4 lumber is standard; balusters use 2x2s; and rails often start with 2x4s or 2x6s. Match your choice to your deck’s existing materials and your local weather conditions.

A well-stocked toolbox is your foundation. Here’s what you’ll need, with details on why each matters:
Invest in quality—cheap tools lead to sloppy cuts and frustration. For contractors, brands like Makita or Bosch are reliable; DIYers can grab basics from Mitre 10 or Bunnings.
Let’s break this down into six detailed steps. For this example, assume a 12-foot deck section with a 36-inch handrail height—adjust as needed for your project.
Preparation sets the stage. For a 12-foot section, you might need:
Lay everything out on a tarp or workbench. Check your saw blade’s sharpness—dull blades tear wood. Wear goggles and gloves from the start; safety isn’t an afterthought.
Accuracy here prevents a domino effect of errors. Here’s the process:
Measure twice—once from each end—to confirm symmetry. For stairs, mark posts at the top and bottom, adjusting for slope.
Posts are your handrail’s backbone. Here’s how to set them up:
Pro Tip: Pre-drill bolt holes to avoid splitting—wood hates surprises. For elevated decks, tie posts into the structural frame, not just the deck boards, for code compliance.
Rails connect the posts and prep for balusters. Follow these steps:
Use a level to ensure rails are horizontal—slanted rails look amateurish and feel unstable.
Balusters fill the gaps, making your handrail safe and stylish:
Check plumb with a level as you go. Misaligned balusters throw off the whole look—fix them early.
The handrail caps it off:
Test by leaning on it—it should feel rock-solid. Tighten any loose screws or bolts.
Years of carpentry yield these gems:
These tweaks elevate your handrail from functional to fantastic.
Even pros hit snags. Here’s how to fix them:
Test each fix by applying pressure—safety trumps speed.
DIYers often start with wood; contractors mix materials for custom jobs.
Safety isn’t just compliance—it’s peace of mind.
DIY is rewarding, but some decks demand expertise:
For top-notch deck builders in Auckland, call My Homes Decking Expert at +64 22 315 8987. We craft safe, stunning handrails tailored to your vision. Get a free quote today!
Post-build care keeps them strong:
A little upkeep goes a long way.
Building deck handrails blends safety, skill, and style into one satisfying project. With the right materials—wood, composite, or metal—and this step-by-step guide, you’ll create handrails that protect and impress. From plumb posts to secure balusters, every detail builds a deck you can trust.
Grab your tools and get started. Need expert help? My Homes Decking Expert is a call away at +64 22 315 8987. Contact us for a free quote and elevate your deck today!
Discover how to clean decking naturally in Auckland. Use DIY solutions like vinegar & baking…
Kwila Decking for Auckland Homeowners How Long Does Kwila Decking Last? A Comprehensive Guide for…
How to Build a Deck: A Comprehensive Step-by-Step Guide Introduction Did you know that adding…